So, you’ve sculpted a masterpiece in Blender, and now it’s time to take your model from “meh” to “wow!”. How do you do that? Two words: texturing and shading. Think of them as the makeup and lighting that turn your 3D model into a star.
What’s the Deal with Texturing?
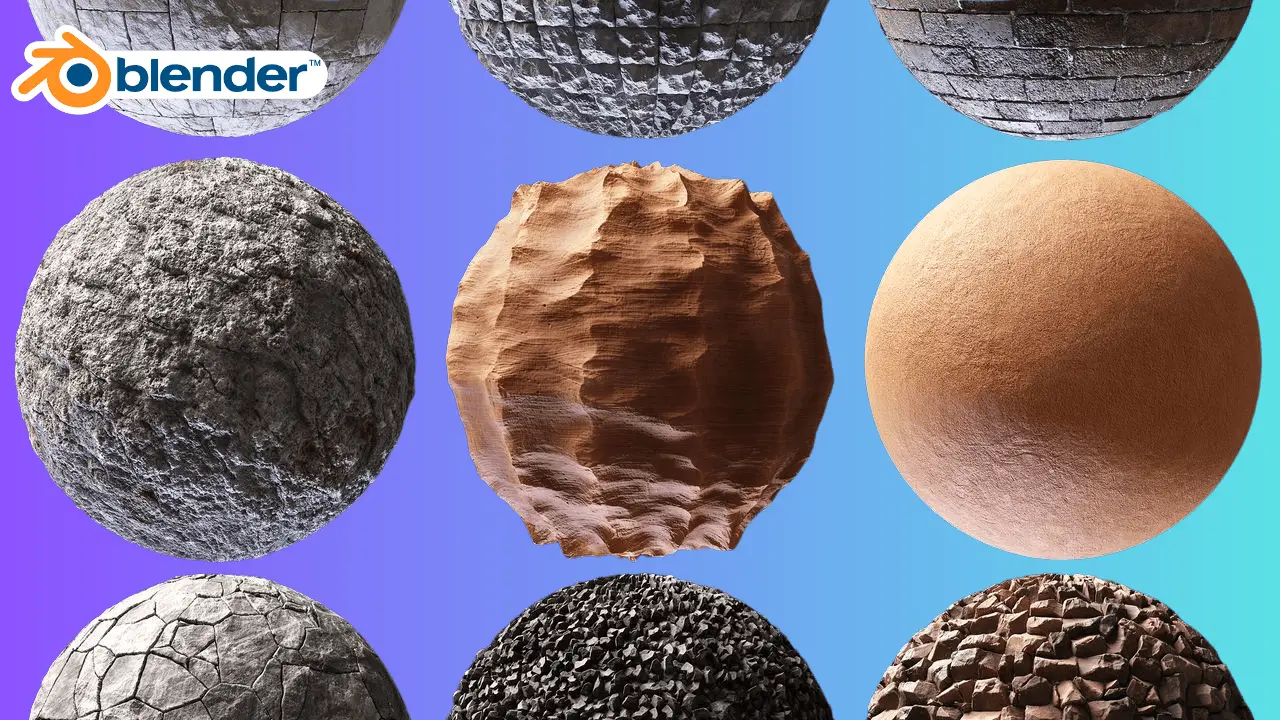
Texturing is like wrapping your 3D model in a fancy skin. It involves painting or applying images (called textures) onto the surface of your model. Imagine you’re giving your creation a snazzy outfit—whether it’s leather, metal, or just plain old skin.
UV Unwrapping: The Not-So-Scary First Step
Before you start slapping textures on your model, you need to UV unwrap it. Don’t worry, it’s not as painful as it sounds! UV unwrapping is like peeling an orange and laying the peel flat. It creates a 2D map of your 3D model so you can paint on it easily.
Think of it as unfolding a cardboard box. You need to flatten out the surface so you can see all sides at once. Blender’s got some nifty tools to make this process a breeze. Just remember to breathe, stay calm, and maybe keep some chocolate nearby for moral support.
Painting Your Masterpiece
Once your model is unwrapped, it’s time to get artsy. You can either paint directly in Blender or use external software like Photoshop or GIMP. Go ahead, channel your inner Bob Ross—just remember, there are no mistakes, only happy little accidents. (Except when you accidentally paint the face texture onto the butt—then you might want to hit Ctrl+Z.)
Textures can be simple color maps or more complex things like bump maps (for fake depth) and normal maps (for even fancier fake depth). They all work together to make your model look more realistic.
Shading: Adding the Magic Touch
Now that your model is all dressed up, it’s time for the lighting to shine—literally. Shading in Blender is done through the Shader Editor, a place where you connect colorful nodes together to create material effects. If texturing is the makeup, shading is the Instagram filter that makes everything pop.
Nodes: The Building Blocks of Magic
Don’t let the nodes scare you. They’re like Lego bricks—you snap them together to build something amazing. The Principled BSDF shader is your new best friend. It’s like an all-in-one tool that can mimic almost any material, from glass to skin.
Experiment with different nodes to create the perfect look. Add a Glossy BSDF node for shiny surfaces or a Subsurface Scattering node for translucent materials like skin. Just remember, a little goes a long way. You don’t want your wooden table looking like it’s been dunked in a vat of oil—unless you’re going for that look, in which case, you do you!
Lighting: The Final Flourish
Good lighting can make even the simplest model look jaw-dropping. Blender’s got you covered with tools like HDRI maps and spotlights. Play around with different lighting setups to see what makes your model look best.
Remember, lighting is like seasoning a dish—too much can overpower, too little can leave it bland, but just the right amount? Chef’s kiss.
Wrapping Up
Texturing and shading are where your 3D models truly come to life. It’s a mix of art and science, but with a bit of practice (and a lot of patience), you’ll be creating stunning visuals in no time. So, grab your stylus, fire up Blender, and get ready to wow everyone with your digital creations. And hey, if all else fails, just add a little more gloss and pretend it’s supposed to look that shiny. Happy Blending!


