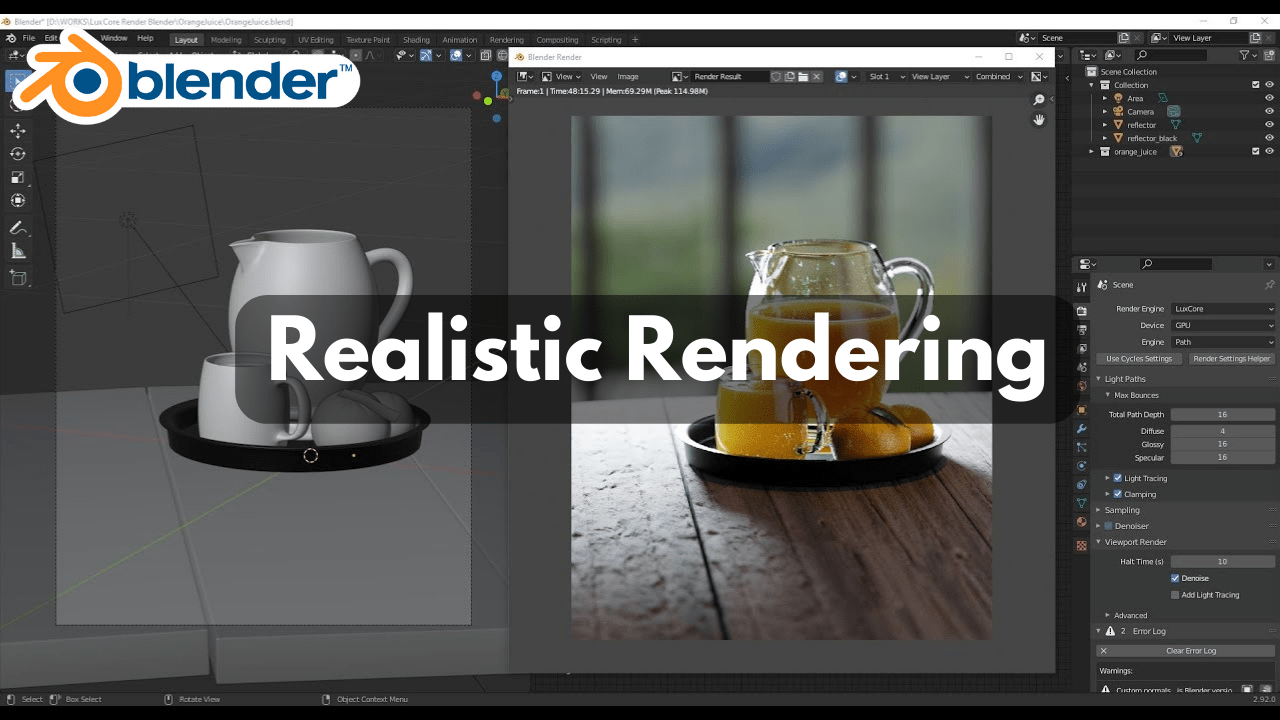
So, you’ve decided to dive into the wild world of 3D Realistic Rendering in Blender, huh? Buckle up, because creating realistic renders is like baking a perfect soufflé— it’s an art and a science, but way cooler. Let’s walk through some tips and tricks that can take your Blender renders from “meh” to “wow!” And don’t worry, we’ll keep it simple, because who has time for complicated, right?
1. Lighting is Everything
You know how you look in the bathroom mirror at 7 AM versus how you look in a candle-lit restaurant? Exactly. Lighting can make or break your scene. Use HDRI images for environmental lighting; they provide realistic light reflections and make your objects look like they’re actually in a real-world environment.
Pro tip: Rotate your HDRI to see how the lighting changes. Sometimes a tiny tweak can make your render pop.
2. Textures and Materials: The Skin of Your Models
Think of your 3D models as potatoes. Without a good skin, they’re just…potatoes. Apply high-quality textures to give your models realistic surfaces. Sites like Poliigon or Textures.com are gold mines for finding top-notch textures.
Also, don’t forget to use normal maps. These little guys add depth without adding geometry. It’s like the difference between a smooth and a crinkly potato chip. One’s just better.
3. Subdivision and Displacement: Making Things Smooth or Bumpy
For smooth objects, use the subdivision surface modifier. It’s like giving your model a spa day. For those bumpy, uneven surfaces (think rocks or old brick walls), displacement maps are your best friend. They push and pull the geometry based on a texture, giving you that realistic bumpiness.
Just remember: Less is more. You don’t want your characters looking like they’ve got a bad case of the chicken pox.
4. Cameras: Find Your Inner Spielberg
Position your camera like you’re shooting a blockbuster. Use the rule of thirds to make your compositions more appealing. And for the love of all things holy, don’t forget depth of field. A slight blur in the background can make your subject stand out and give your render that professional look.
5. Post-Processing: The Icing on the Cake
After you’ve spent hours on your render, give it a final polish with some post-processing in Blender’s Compositor. Add some bloom to make light sources glow, or a bit of color grading to set the mood. Think of it like Instagram filters, but for your 3D art.
Side note: Don’t go overboard. We’re aiming for Michelangelo, not a Lisa Frank sticker book.
6. Patience and Perseverance: Your Best Friends
Rendering is like waiting for a cake to bake. It takes time. Sometimes you’ll need to tweak and re-tweak settings until everything looks just right. But that moment when you see your final render? Totally worth it.
And there you have it! Some down-to-earth tips and tricks to help you create realistic renders in Blender. Remember, practice makes perfect. Or at least, practice makes you a bit better every time.
Happy Blending! And remember, even Michelangelo started with a lump of marble (or something like that).


